Safety in the mountains is a very delicate and controversial matter. By definition, mountains are places of high risk at almost every moment. In addition to the technical knowledge and skills possessed by professional guides and climbers, there are some basic fundamentals of being in the mountains. One of these is movement along the route. It is because of the descent from the route that most accidents occur, people are missing and it is not always possible to find and save visitors, especially inexperienced ones. You will learn more about the 10 Tips For Staying on Track During Hiking in the LCN Outdoors article.
In the LCN Outdoors article, we mean that the chosen route does not have fixed markers or markers of any incident, this is especially true for the reality of the United States. If there are markers, then the main advice is banal: be careful and follow the markers, and if you get lost, go back to the last point is encountered. The normal step distance between static marker points is no more than 330 feet (100 meters) – usually 100-160 feet (30-48 meters), so if the marker does not get your attention above 650-1000 feet (200-300 meters), you should return.
When crossing multiple routes with different markers, or planning a trip that overlaps only with marked sections, be sure to clearly mark the route on the map in advance and mark when and where the route number will change and the markers will change accordingly, as well as markings for segments of the route that do not need to be marked. You will need to include additional navigation. And of course the head.
The Most Common Reasons For Leaving The Route – Hiking tips
- Sudden change in weather
Thunderstorms, heavy rains, and sharp drops in temperature often prompt visitors to make quick decisions that are not always correct when they move further or seek shelter. - Fog and lack of visibility
In the mountains, you can often enter cloudy areas during ascent or descent. This is especially dangerous when leaving the trail through rugged terrain. The same is true for the start of darkness. Orienting yourself in the dark is not easy and is complicated again by weather elements, the absence of stars, the moon, fog, and precipitation. - No paths
Thus, the lack of clearly defined paths puts most visitors in a coma. When there is no clear path, it may be completely unclear where to go. Visitors have nowhere to go. - Lack of orienteering skills
Of course, you don’t have to be a professional orienteer or a certified guide to safely travel in the mountains. Understanding the basics of moving safely over rugged terrain is enough. Yet, there are many people who get lost in the forest, and it is they who have the most accidents. Ignorance is the scourge of tourists. - Family needs
When one can get lost even in good weather, the technical stop for hikers is a classic. Going to the toilet so no one can see, going to fetch water, finding firewood, deadwood, and then not being able to find your way back – all of these are almost always accompanied by descending from trails and predetermined routes. - Try to shorten the route (take shortcuts)
A common phenomenon when trying to find the shortest route in unfamiliar areas, but everything happens the other way around. To “shortcut”, you need to know in advance where to take the shortcut. Measure once in seven times. This phrase is perfect for this situation. - Fatigue and other causes of disorientation
Long stays on the route, heatstroke, hypothermia, dehydration, altitude sickness, inhalation of vent fumes in volcanic areas, worsening medical conditions or symptoms, and lack of sleep often lead to disorientation in space. In some cases, helping yourself becomes nearly impossible, and the most dangerous part is that most of these factors are invisible or difficult to identify. For example, can you tell the symptoms of altitude sickness or the lack of oxygen caused by inhaling a colorless gas whose smell you can’t even detect at an altitude of 3 miles (4.8 km)?
Of course, informational training can affect safety in the mountains. The more you know about the upcoming route, the more force majeure, and domestic factors such as water sources, you can anticipate and plan a plan of action in advance to avoid falling into a deadly situation, even if you leave the route. Now that all the maps have been studied, the route has been outlined, and the team has assembled and is ready to begin the journey.
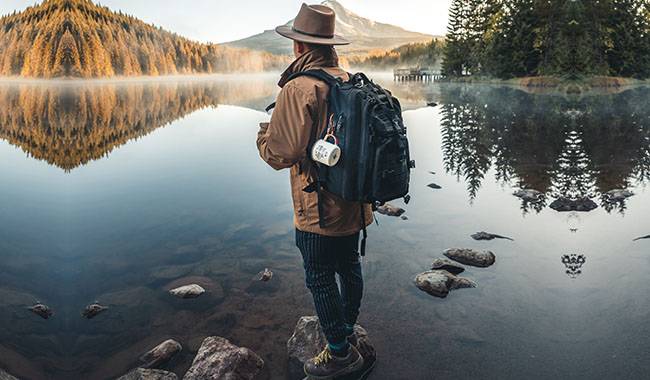
Check Your Equipment
After stopping at the end of the road, get out and look at the mountains around you. You and the team will be alone out there. It’s time to gather and focus your attention. The first step is to make sure you pack the most important equipment according to a pre-determined list. The right maps, headlights, first aid kit, a trusted GPS watch or navigator, maybe a tracker for tracking, maybe avalanche gear.
Make sure that all electronic devices are fully charged and that this charge will not only last the expected amount of time, but will also have a large margin. A good solution to this problem is a portable charger, perhaps even with solar cells.
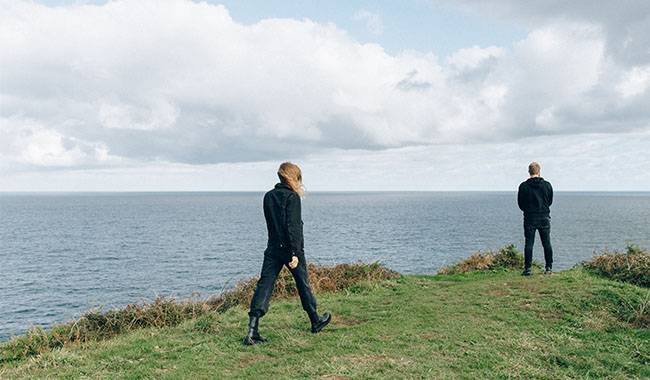
Conduct A Group Briefing
Before starting the route, gather the group and hold a short briefing. This will help ensure that you are all on the same wavelength and help avoid unnecessary questions and misunderstandings later.
Discuss the goals of the hike, such as having fun, returning safely and unscathed, and remaining patient with each other. Then give a short overview of the upcoming trip: the purpose of your route, the approximate distance of each day of the trip, points of interest along the way, places to stay overnight, and water sources. Finally, discuss the first day, the length of the route, the climbs, the nature of the terrain, the presence of obstacles such as surfaces, rivers, shallows, etc., the time and place of rest, and lunch.
Be sure to discuss the course of action to be taken in case of force majeure, including when you get lost.
Adhere To The Schedule
Knowing what you are likely to encounter on your daily journey is a great way to stay on track. Schedule checkpoints (pre-marked places you need to reach at a specific time) consider alternate options, and when to return or change plans, which is possible in case of fatigue, darkness, or weather changes.
Calculate speed and average travel time. Stop along the way to look at maps and see what happens next. It’s a good idea to have a general route plan for the day and a more detailed idea of what awaits you after each leg of the trip (a few miles or an hour). Always mark the next waypoint when traveling to make sure you are on the planned route.
When planning your route schedule, remember that almost always, as darkness approaches, the speed of movement drops and you need to take this into account. If it’s dark, you’re lost, you don’t have a navigation device, you don’t know where to go, stop, settle down and wait for daylight!
Tip: Gadgets that calculate the speed and time of arrival are usually very unreliable! In mountainous areas, there is no direct relationship between kilometers and speed. Well-marked trails usually list times for critical trail points. Usually, this time is based on the speed of an average person carrying a light backpack. Therefore, the time on the route should be calculated based on many factors: the composition, experience, and fitness of the team, the load behind it, the complexity and coverage of the route, the terrain, the seasonality of the pass, the absence of snow, precipitation, the increase in river levels at the crossings, the time of day, the possible deterioration of weather and visibility, the temperature and its extremes (in high temperatures, traffic performance decreases and speeds are slower).
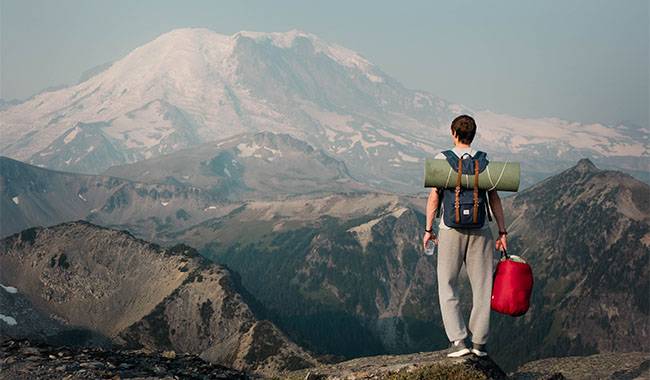
Use The Linear Guide
Linear landmarks are terrain elements that take you to your destination and along which you can move over long distances, they are also called “railings”. For example, you can leave a trail in a certain direction to reach a stream or riverbed that you have marked on your map. Now you can use the creek to go, for example, to the bridge, also marked on the map in advance. Suitable features can be ridges, hills, ditches, lakesides, riverbanks, or other elongated terrain features that will take you to your desired destination. But make sure you use these elements in the right way!
Set Your Own Guidelines
In addition to the linear features of the terrain, you can also use feature landmarks located near your route destination as an aid to orientation. Rather than trying to immediately determine the final destination point of your route, find any obvious terrain features nearby on your route and get there first. Now that you are closer to your destination, use more detailed navigation at the last stop of your journey. Direct routes are not always the easiest.
Train Your Memory
To get started, carefully review the plan for the next leg of your journey. Review the map and determine the route guide, and the recognizable points you should encounter along the way. After processing this, remove the map and follow it to your next destination. How many times do you need to view the map?
Visualize upcoming route segments, remember the main milestones of the route, landmarks – this is a very useful practice. It helps you identify landmarks on the go and gives you the freedom to put the map and navigation devices aside and enjoy the roads and scenery.
If this seems too easy, then at the same time you can remember the route from the last landmark, so that in case of force majeure or leaving the route, you can return to the starting point from memory.
Prepare to Park
Remembering previous landmarks and the last part of the route is especially important when leaving the route to meet domestic needs. Set a framework for yourself within which you can afford to carry out your daily activities. For example, you can go to the bathroom no more than 50 feet (15 meters) from the route and keep a bright backpack or tent in sight. Collect firewood within a 165 feet (50 m) radius from the campsite and in areas of visibility and visibility. Look for a water source no more than one hundred paces from the stopping point, if not initially visible, which occurs in the forest.
Tip: Be conscious of your daily activities!
There is no need to continue walking if you have the feeling that you are unconsciously leaving the route. Stop and collect. One of the main reasons people get into trouble in the mountains is that after leaving a route, they stubbornly keep going instead of stopping, rechecking everything, and turning back if necessary.
If you’re not sure, stop and double-check your location on the map. If you don’t know where you are, stay where you are until you find out where you are.
Using GPS Tracks
Of course, there are enthusiasts from the orienteering world who admit to using only maps and compasses for orienteering, but let’s be honest: modern technology is great and makes our lives easier. If a planned route with GPS is pre-loaded on your device, it will be displayed on the screen. If you deviate from the set route, you can also determine the location of the route relative to your current position. Many GPS devices are programmed to sound an alarm if you deviate from a given route.
If this is your first time on the route, but the track is busy, take an extra look, especially at turns, splits, explicit and implicit. It often happens that a person skips a desired turn because he intuitively goes on a more obvious path. Any GPS navigation device has an altimeter, which is a very good navigation aid. It shows the current climb and allows you to position yourself on the map. However, such devices must be calibrated periodically for proper altimeter accuracy.
The most accurate is the barometric altimeter, which displays altitude based on changes in pressure. Barometric altimeters have a very low calculation error, significantly lower than GPS-driven altimeters. It is worthwhile to calibrate such devices as soon as possible after a flight or long car trip, including through mountain passes. Experienced hikers recommend that some barometer watches be calibrated after complete immersion in water (if available).
Incidentally, barometers can predict sharp changes in weather in advance by falling pressure, which should prompt you to consider your current position and further actions.
Even before you start your route, it’s important to learn how to use your navigation equipment! You should not put yourself in a situation where an ultra-precise watch that can do everything in the world, including getting a person out of a deadly situation, becomes a useless trinket without the skills to use it. Test the functionality of the navigator, first of all, in those “three pine trees”, i.e. the nearest well-known parks.
Check The Correctness Of The Track Before Departure
Tip: Far from always drawing tracks in special programs and applications, we actually passed. It happens that the satellite system sees the path, but it does not actually exist (overgrown, covered with rocks, snow). And vice versa. There is no path on the map, but they’re actually is one, and what a great path it is! Such a GPX route planning and download system may not see natural and man-made obstacles. By the way, this is why planning winter hikes along regular summer routes is another matter.
Be careful when uploading strangers’ tracks to your gadget. You never know for what purpose and with what skill the author of the route went there. Maybe he didn’t go at all. There may be strange loops or appendices on such a track that don’t actually make sense. Follow the general course of the route, but turn your head and analyze the terrain. Often, the accuracy of the track may not match reality, for example, the track is visible at 30-165 feet (9-50 m) from the track and parallel to it. it is logical that GPS errors appear gradually while plotting the track or while navigating through it.
It is also worth separating navigation applications (e.g. Google Maps, Maps.me) from specialized programs and route planning websites (e.g. Movescount (Suunto), etc.). The former is often criminal and very bad, with climbing, they are far from all trails and they calculate the time on the route very badly. Hike and use a high-quality professional service.
Return to the Route
As a rule, in all modern watches with GPS tracks, the route of the route is written in real-time and you can always return and return along with it. Older watches with GPS require a separate function to be enabled, for example, in the “old” Suunto, this is the TrackBack function. A watch with this function remembers the route taken even if route navigation is not turned on. With a simple operation, the watch will show you the path taken in a few seconds and you can follow it back.
Mind you, how many people could be saved if there were working navigators with a loaded route in hand …… For example, such a feature once saved the most experienced mountain athlete Kílian Jornet Burgada during a solo descent of Mount Everest.
Tip: Not knowing your exact location and getting lost are two different things. If you don’t know exactly where you are, make sure you stay calm. If you don’t have a track with you, stop, sit down and think about it.
- First look for some characteristic points in the area, which you can try to find and mark on a map.
- Think about where the last point you know your exact location was on the map and how long ago that was.
- Calculate how far you can go in that time and where you can go.
- Once you have determined your location, select the best option to return to your route.
You have three options.
- You can follow the opposite direction to the place you turned wrong.
- You can follow the new route until it intersects with the original route.
- you can follow the new route to the end of the journey.
The strategy you choose depends on the terrain, the skills and experience of your team members, and the time of day. If it gets dark or the terrain is hilly, choose the safest option.
Remember, no one’s ambition is worth one person’s safety and life. For your safety and the safety of your loved ones, always be prepared to turn around or make an uncomfortable decision.
You can find more articles and expert talks on outdoor and mountain sports safety on our blog and on the LCN Outdoors YouTube channel.