It’s not just the wolves that are out there, it’s us, travelers, too. Of course, we don’t go camping to eat, but to enjoy the experience. But it is our feet that lead us on our adventures, and they must be taken care of with the utmost care.
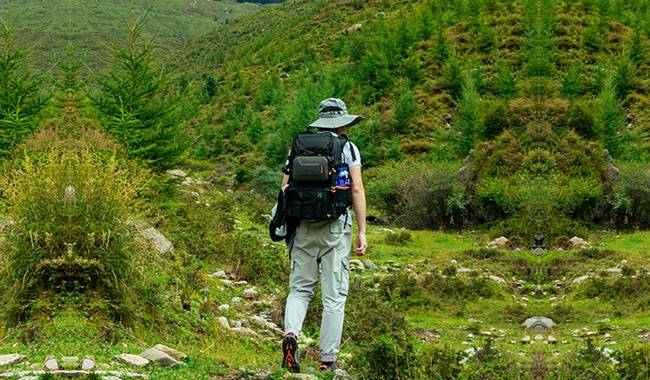
I’ll show you how to protect your feet while hiking. This LCN Outdoors article is useful for those who are just taking their first steps on the adventure trail and for experienced hikers alike for hiking tips. I’ve been hiking for years, but I managed to “kill” my feet while hiking at Cape Dezhnev. To avoid this, you need to follow a few simple rules.
- Choose the right type of footwear for your hike. They should be good hiking shoes (or even mountain cushion boots) for the appropriate category of mountain trails: for hiking, you can get softer and lower shoes, or even special trainers, but for mountain hiking, you need something more serious.
- When shopping for shoes, try on the socks you will be wearing. The longer you walk around in them, the better: at least 5-10 minutes to see if you’re really comfortable in them.
- Boots, especially hard shoes, should always be worn. Wearing hiking boots can look silly in the city, especially in the summer, but it can really save you from hiking: your feet will get used to the new shoes and the chances of getting blisters or knocking your feet out will be much lower.
- Choose the right socks while trying to walk around town in them. On my last hike, it was socks that almost gave me blisters, but I managed to replace them in time and it only cost me a band-aid. Don’t use cotton socks. Special trekking socks wick moisture away from your feet and keep the hot climate inside your shoes.
- Use at least two pairs of socks throughout the day and change them: feet must be kept dry. Wet feet greatly increase the risk of blisters, as the skin of the feet becomes softer.
- Tie your shoes correctly: Don’t tie them too tightly so that circulation is restricted, but don’t let them hang too loosely on your feet either. The shoes should fit snugly on your feet. This first reduces friction between your feet and shoes, thus reducing the chance of blisters while hiking, and secondly, it prevents you from injuring your ankle if you get it wrong. For example, it is especially common to start stumbling or tripping over your feet at the end of the day or when descending from the top of a mountain when fatigue has taken its toll on your concentration.
- Give your feet a break. Even during shortstops in the middle of a walk, take off your shoes and socks and remove your insoles to let your feet cool down and breathe. Or at least untie your shoelaces.
- Check the lace fittings on your shoes: sometimes they can press against your feet or even rub against the material of your shoes. At home, before hiking, you can use pliers to bend or adjust the hardware if you are uncomfortable.
- At the first sign of calluses, apply the plaster with holes in the area, try replacing socks or insoles, and tighten or loosen the laces if the calluses are on the foot or heel.
- If the callus continues to grow, a special callus patch can be used: a soft pad and an incision under the callus, or a “second skin” patch. Personally, I would recommend Johnson & Johnson’s Compeed patch.
Calluses should not be punctured to avoid infection, as a moist callus is essentially an open wound.
I hope that the information I have shared with you will help you follow the entire route on a schedule and that you will focus only on the delightful nature that surrounds you.